MultiversX DeFi Wallet
Popularly referred to as the "future of money," MultiversX currently has a robust web wallet extension known as the MultiversX DeFi Wallet. It is a powerful browser extension for the MultiversX Wallet that effectively automates and reduces the steps and time required for users to interact with MultiversX Decentralized apps.
The MultiversX DeFi Wallet can be installed on Firefox, Chrome, Brave, and other chromium-based browsers. This extension is free and secure, with compelling features that allow you to create a new wallet or import existing wallets, manage multiple wallets on the MultiversX mainnet, and store MultiversX tokens such as EGLD, ESDT, or NFTs on the MultiversX Network with easy accessibility.
Let's walk through the steps on how to install and set up the MultiversX DeFi Wallet extension:
Prerequisites
Wallets don't have custody of your funds, you do. Before utilizing the MultiversX DeFi Wallet Extension, certain preliminary steps must be taken to ensure its proper use.
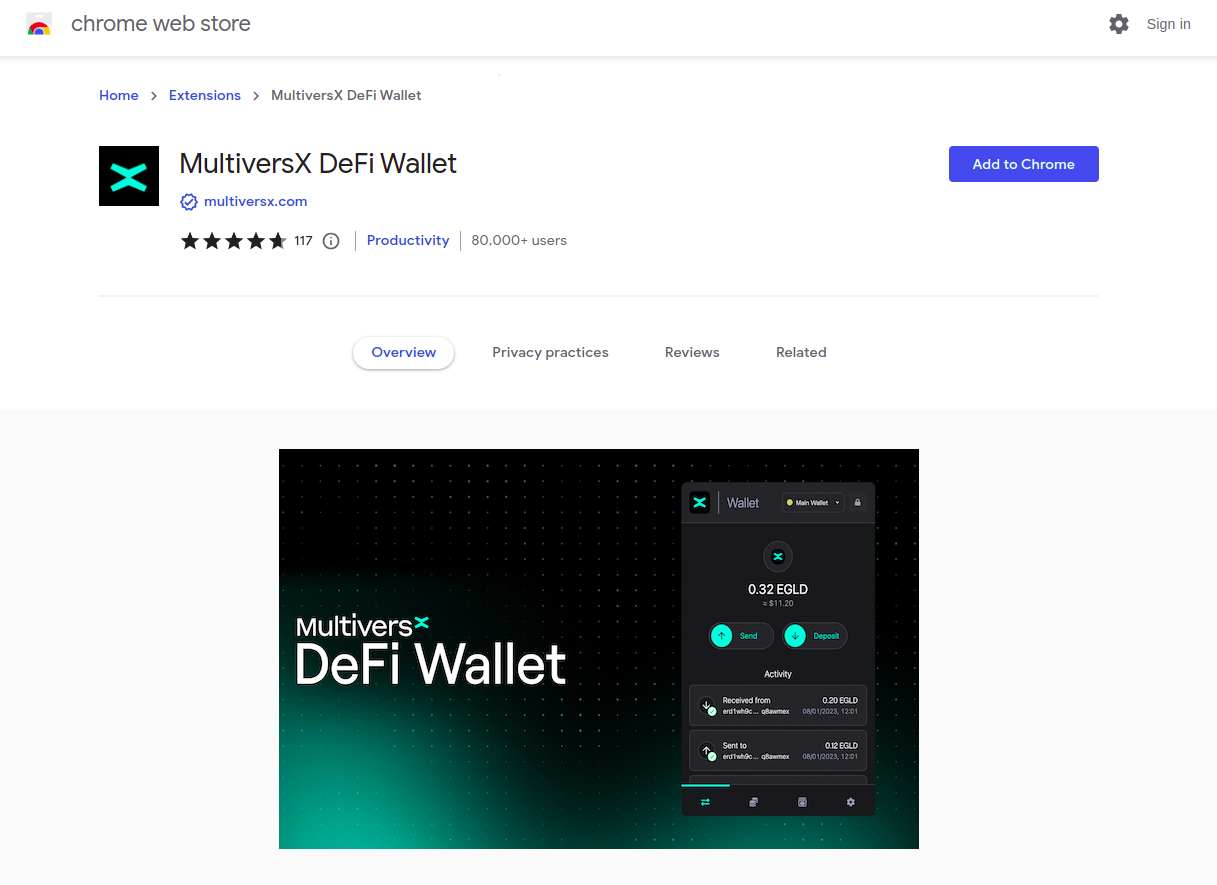
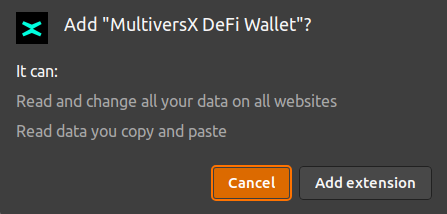
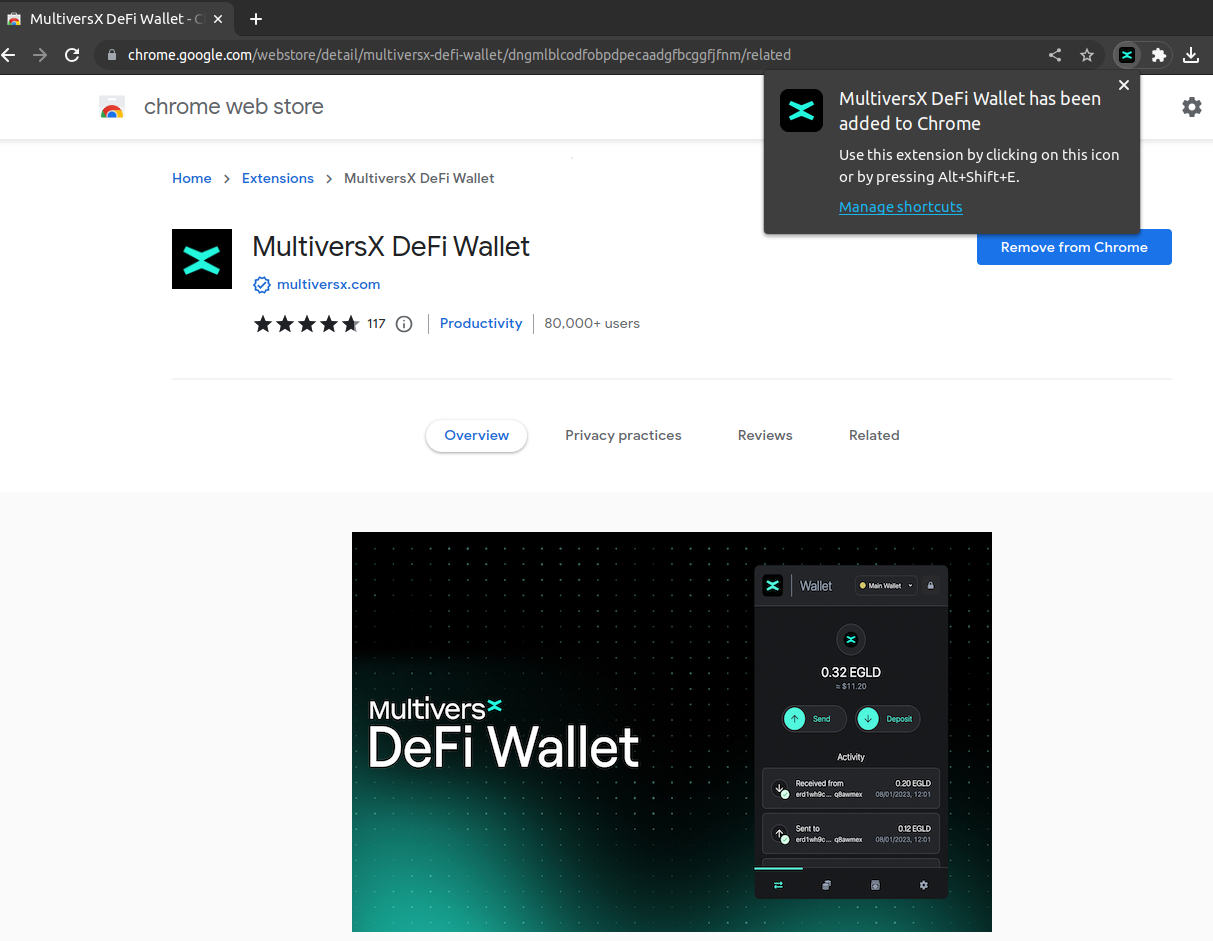
Add MultiversX DeFi Wallet to your browser
-
On the Chrome Web Store Extension, search for MultiversX DeFi Wallet. and add it to your browser.
-
Confirm the action in the pop-up.
-
You should receive a notification that the extension has been added successfully.
Set up MultiversX DeFi wallet
-
Once it has been successfully installed, click on the extension to get started.
-
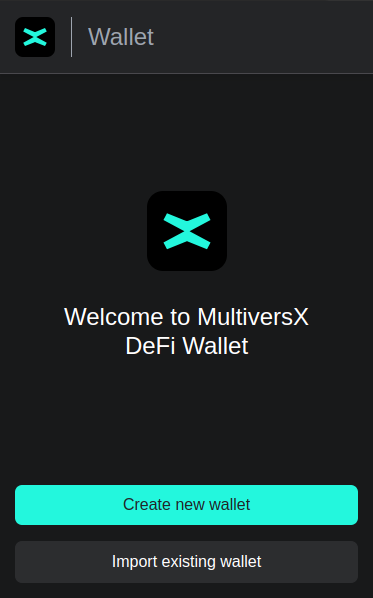
You will be presented with two options: you can either Create new wallet or Import existing wallet.
Create a new wallet
Step 1: To get started, first install the MultiversX DeFi wallet extension.
Step 2: Open up the extension and click on ‘’Create new wallet”.
Step 3: Next, a secret phrase consisting of a set of 24 secret words will be displayed. Safely backup these secret words. We strongly recommend you write them down or copy and store them in a safe place like a password manager. These secret words are the key to your wallet account and cannot be recovered if lost.
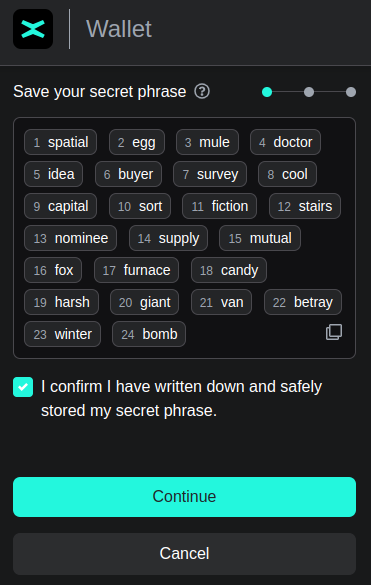
Step 4: Before proceeding to the next step, confirm that you have safely stored your secret phrase.
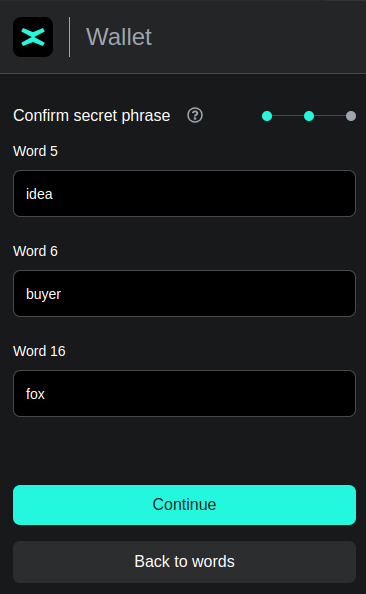
Step 5: For further verification, you will be prompted to input some of the secret words.
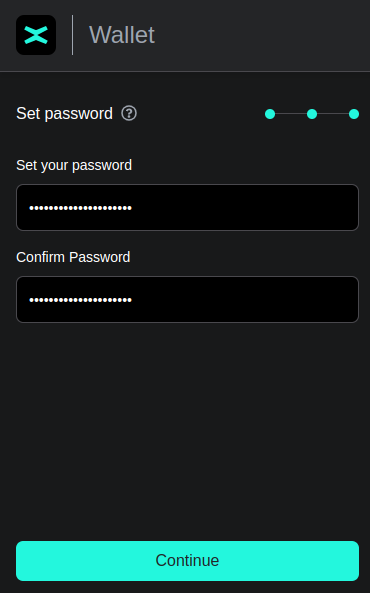
Step 6: Create a password that will be used to access the wallets stored in the MultiversX DeFi wallet extension. Ensure you keep this password safe as it will be needed to access your wallets regularly. Please note that this password cannot be recovered if lost.
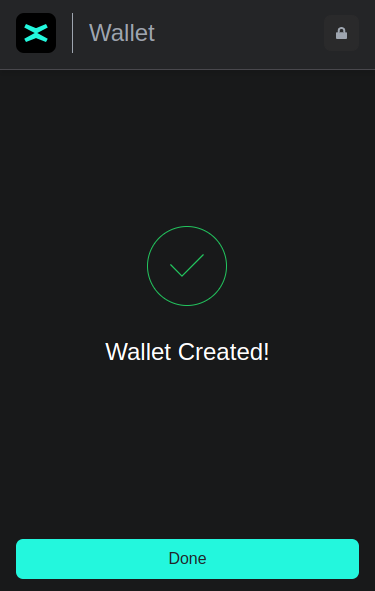
Step 7: Completed! Your MultiversX DeFi Wallet has been successfully created and set to be used.
Import existing wallet
Do you already have a wallet?
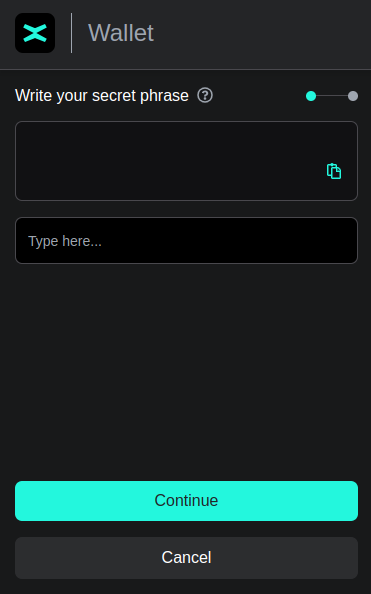
Then there is no need to create a new one. The MultiversX Wallet Extension provides an option to import your existing wallet. However, to import an existing wallet you must have access to its secret (recovery) phrase.
The MultiversX wallet has a set of 24-words, which serve as your wallet’s secret phrase. Using a secret phrase to import an existing wallet does not affect your wallet in any way.
To get started:
Step 1: With the MultiversX DeFi wallet extension installed. Click on ‘’Import existing wallet”.
Step 2: Next, enter your 24-word secret phrase. You can either enter these words one at a time or you can simply paste in the words using the "paste" icon.
Step 3: Enter in your wallet password and confirm this password.
Step 4: Completed! Your MultiversX DeFi Wallet has been successfully imported and set to be used.
Key features
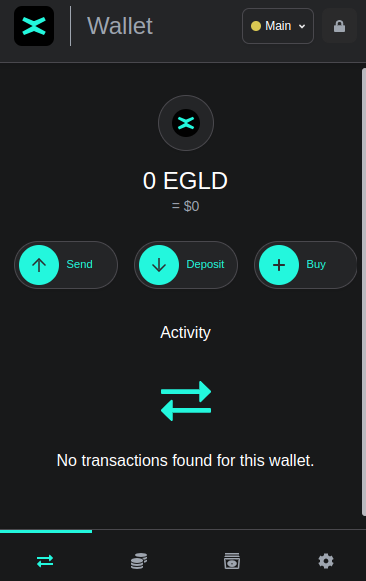
Now you have a wallet registered in the MultiversX DeFi Wallet Extension and it's ready to use. Great! Here's what you can do with this wallet:
Send to a wallet
One of the key features of this extension is that it allows you to send funds from your wallet to another wallet. To use this feature, you will need to have some funds in your wallet before proceeding.
To get started
Step 1: Go to the MultiversX Wallet extension, enter your password and click on “Send”.
Step 2: Enter the address of the wallet you intend to send to and the amount.
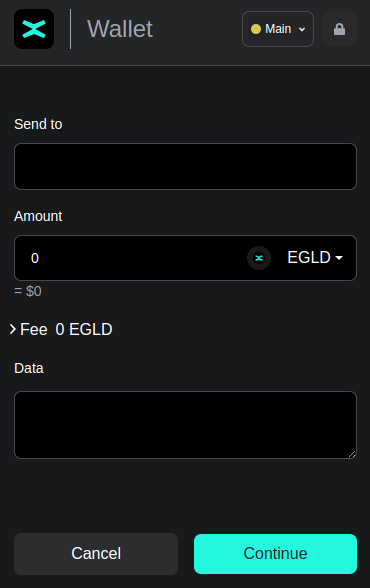
(Optional) Step 3: Enter the data. This is a description of the transaction or any information you wish to pass through.
Step 4: Click on the “Continue” button to complete the transaction.
Lock/unlock
After 60 minutes of being inactive, the extension automatically locks itself. You can unlock it at any time using your password. In addition, you can lock the extension manually, by clicking the “lock” icon in the header.
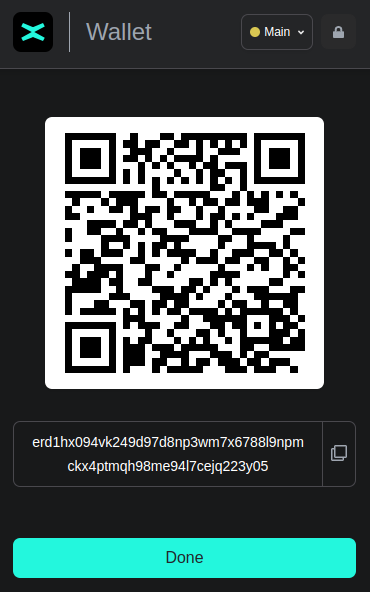
Deposit to a wallet
A deposit can be made to your wallet using the wallet extension. This feature allows you to share your QR code or wallet address to receive a token deposit. To get started:
-
Open up your MultiversX Wallet extension.
-
Next, click on the "deposit" and share your QR code or wallet address.
Transactions history
On the wallet extension dashboard, the wallet records all transactions sent and received in your wallet. If you are a new user, it says "No transactions found for this wallet" until you make your first transaction.
Networks
In the settings section on your extension dashboard, you can connect to the different networks provided by MultiversX, such as the mainnet, testnet, and devnet.
Choose either of these networks.
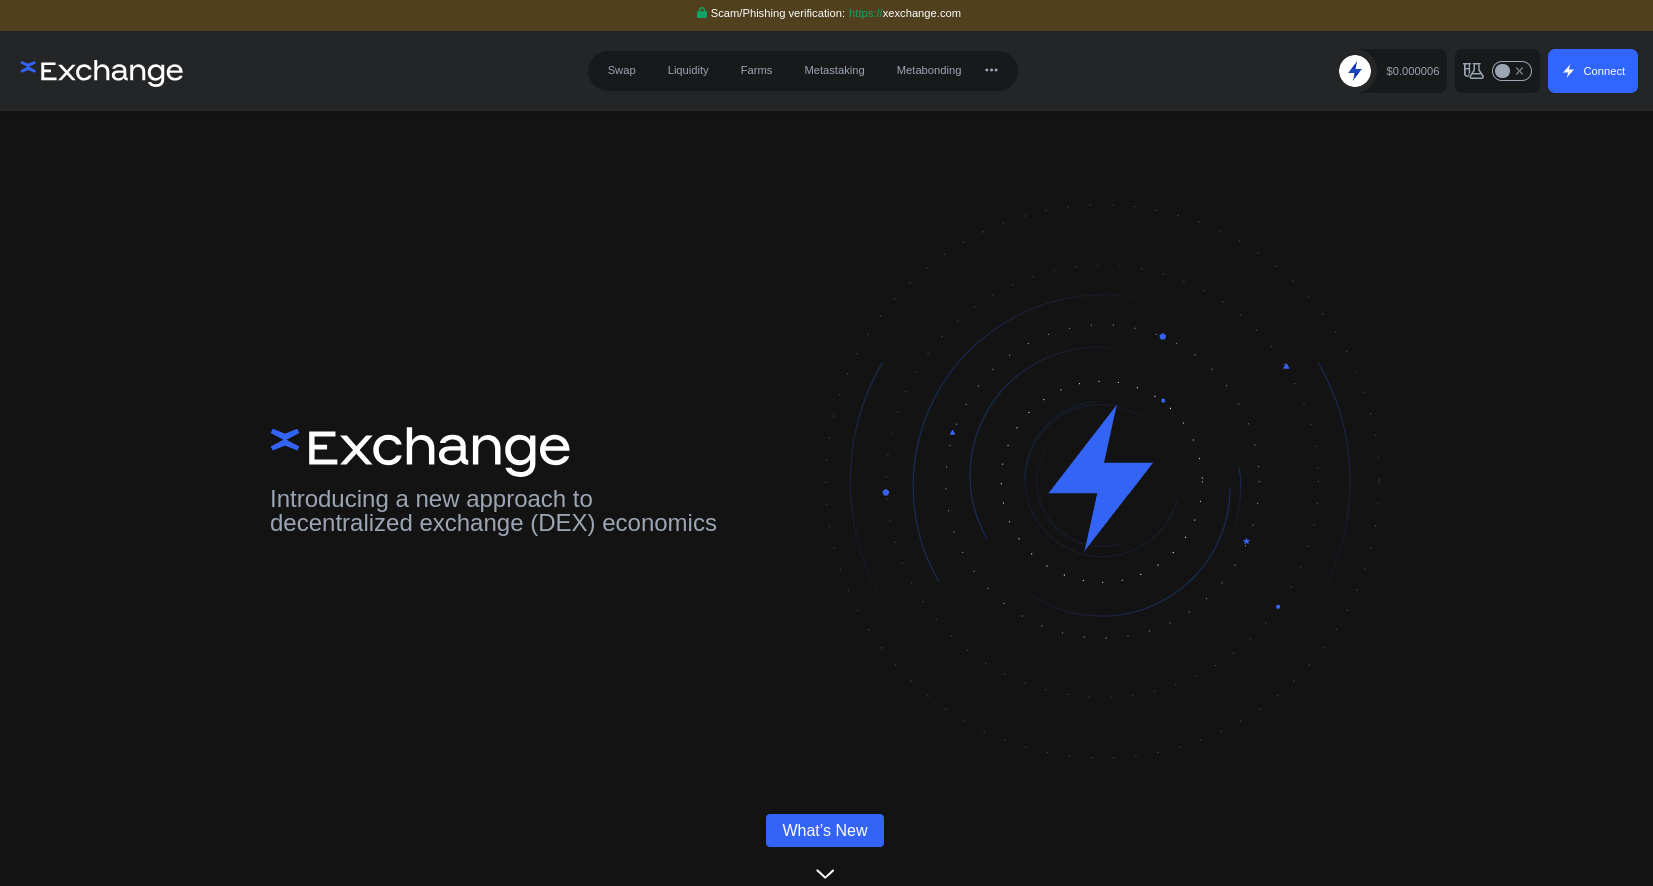
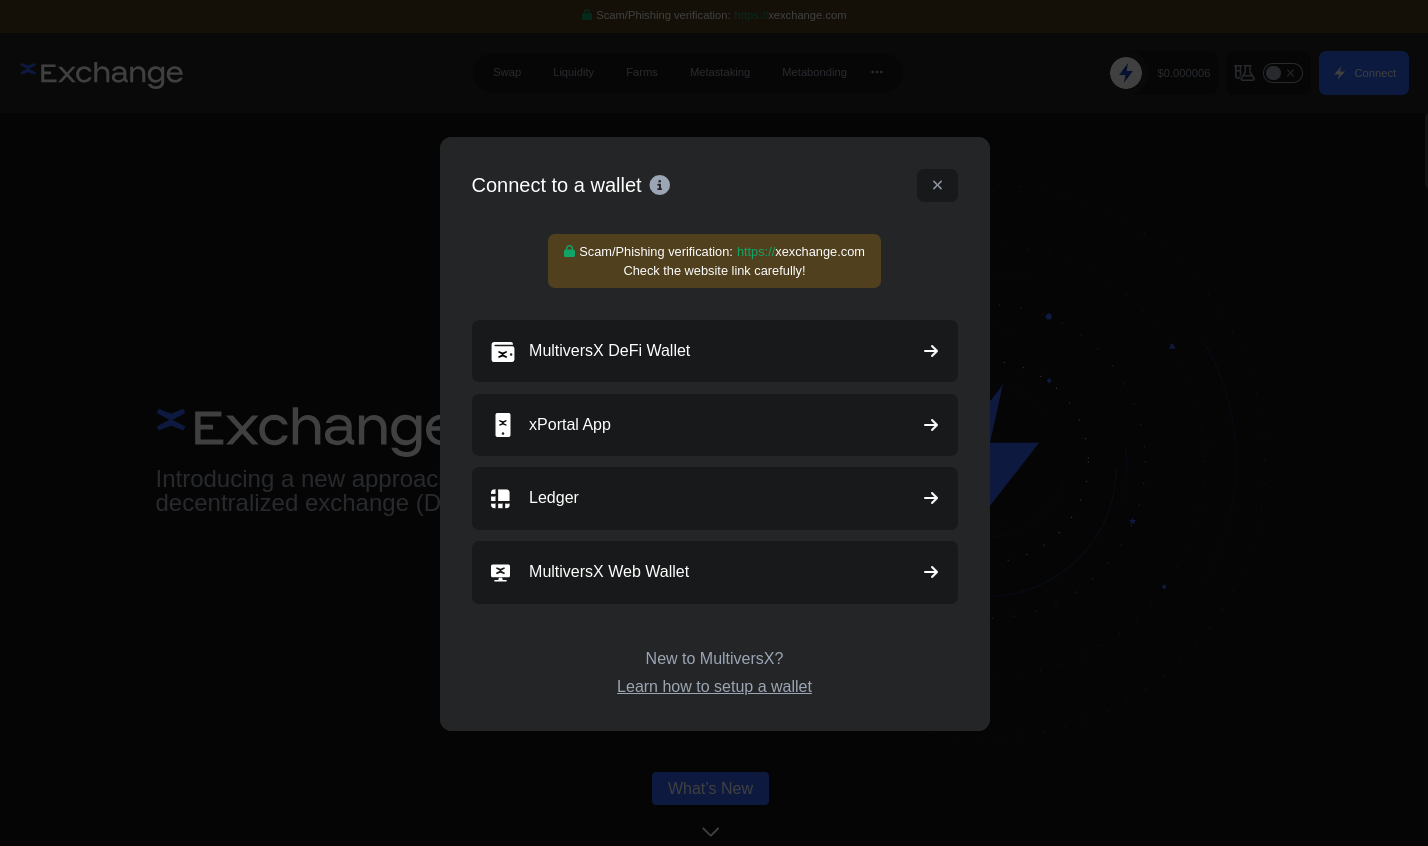
Connecting the MultiversX DeFi Wallet to xExchange App
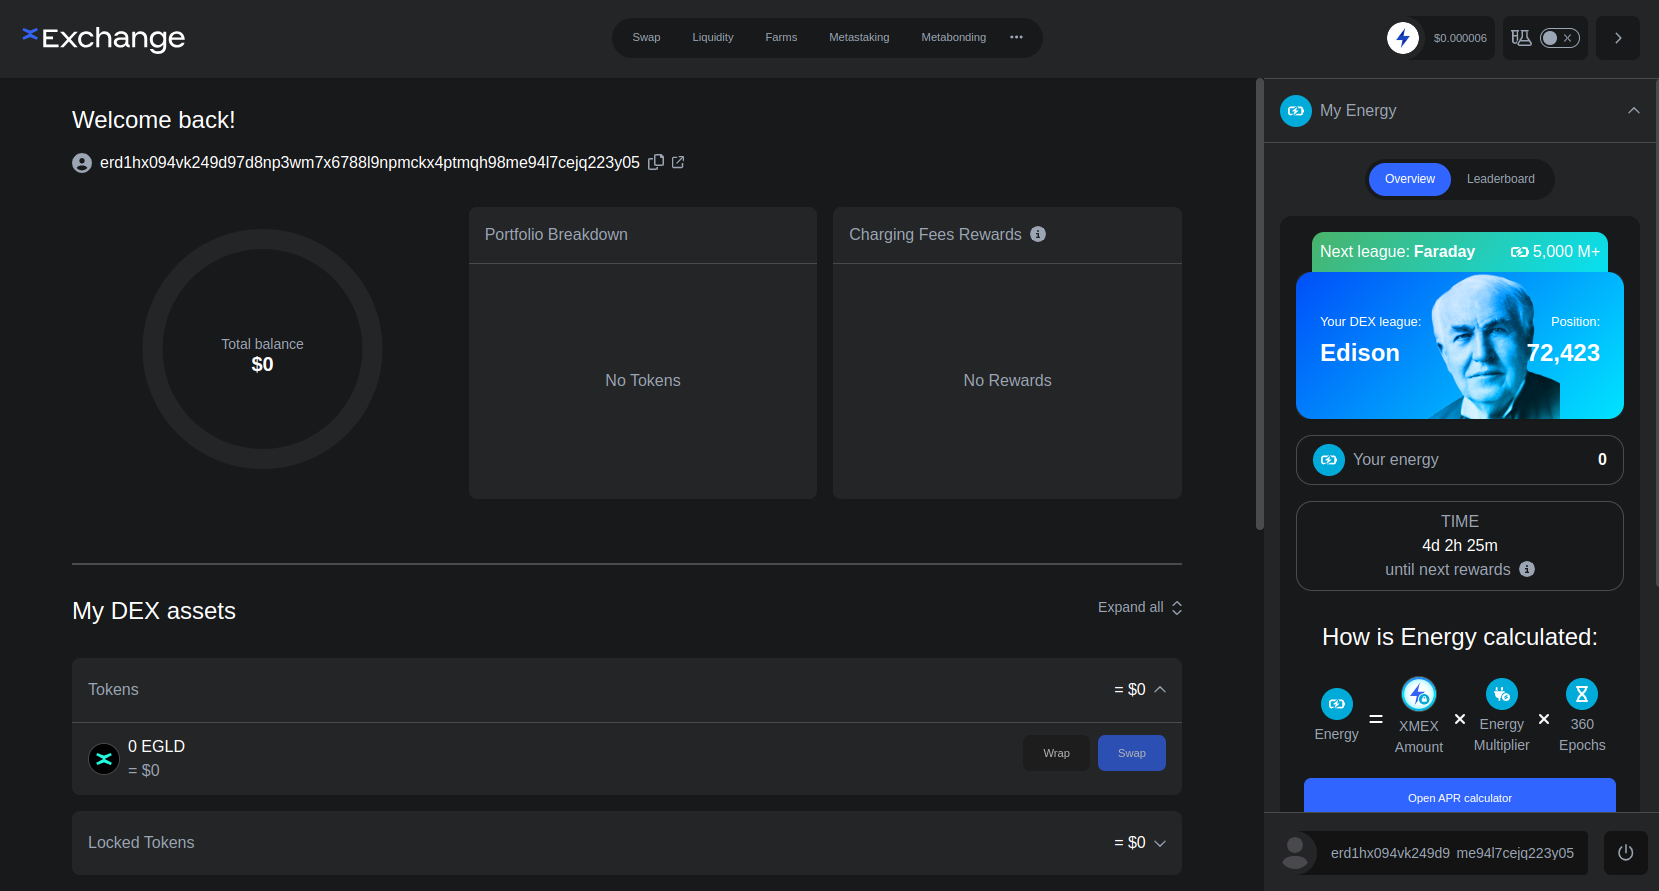
You can now connect xExchange to the MultiversX DeFi wallet in real-time. With this connection, you will be able to log in to the exchange using the MultiversX DeFi wallet extension in a few steps. Follow these steps to proceed:
Step 1: To get started, go to the MultiversX Exchange page on the right section of the page, click on the “connect” button.
Step 2: Select "MultiversX DeFi Wallet" from the options displayed.
Step 3: Lastly, enter your password and click on the wallet address you want to connect to.
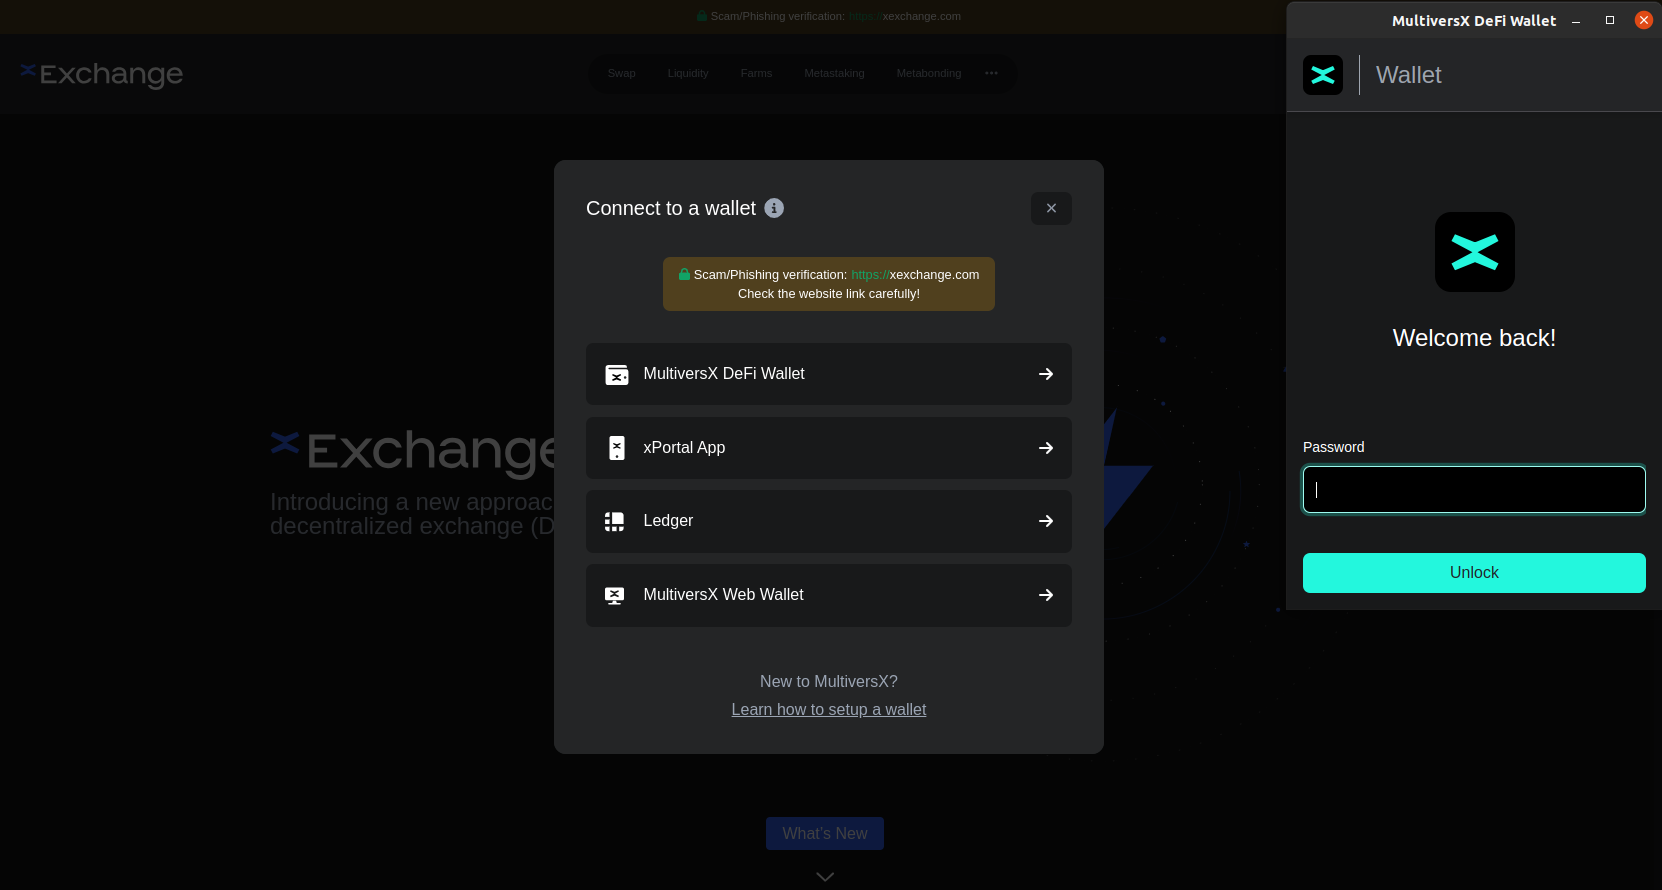
- In a split second, the MultiversX Exchange home page automatically reloads. You’ll notice your account has been added to the right section of the page.
Successful 🎉
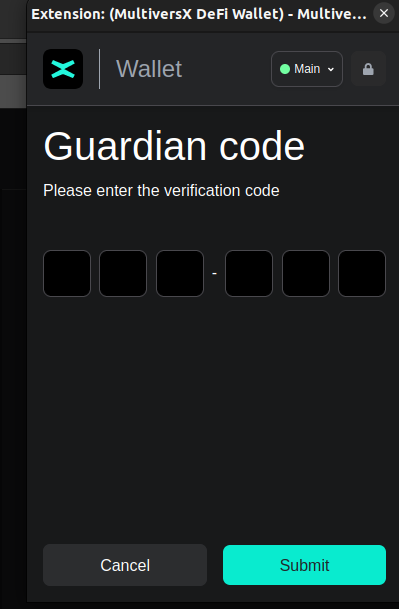
Guardian
You can use the MultiversX DeFi wallet with Guardians. It is as simple as it was before, with the only mention that you have to introduce the 2FA code for guardian signature when requested: