Ledger
You can safely store your EGLD by installing the MultiversX EGLD app on your Ledger Nano S or Ledger Nano X device. We recommend using a hardware wallet for managing large amounts of EGLD.
Before you begin
- Set up your Ledger device
- Download the Ledger Live application
- Upgrade your device with the latest firmware
Install the MultiversX EGLD app on your Ledger
Teach your Ledger device to work with EGLD by installing the MultiversX app on it.
- Open the Ledger Live application
- Click on the “Manager” section in the app
- Connect and unlock your Ledger device
- If prompted, allow the Manager on your device by pressing the two buttons
- In the App catalog search for “MultiversX”
- Click the “Install” button next to the MultiversX app
- Your Ledger device will display “Processing” as the app installs
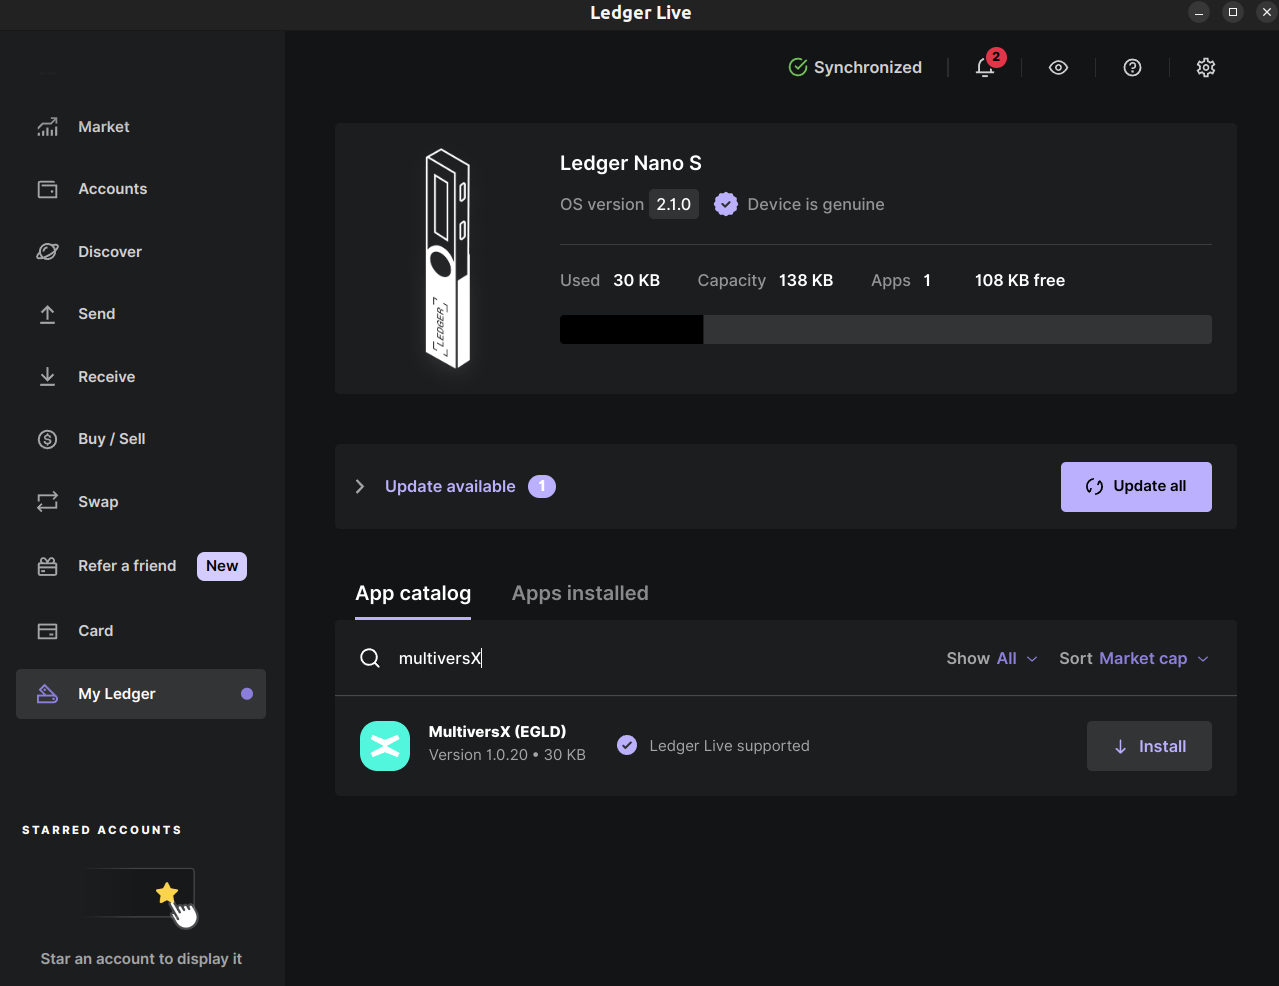
Awesome, you did everything perfectly!
Log into your MultiversX wallet using the Ledger device
- Make sure your Ledger device is connected to your computer
- Log into your Ledger device
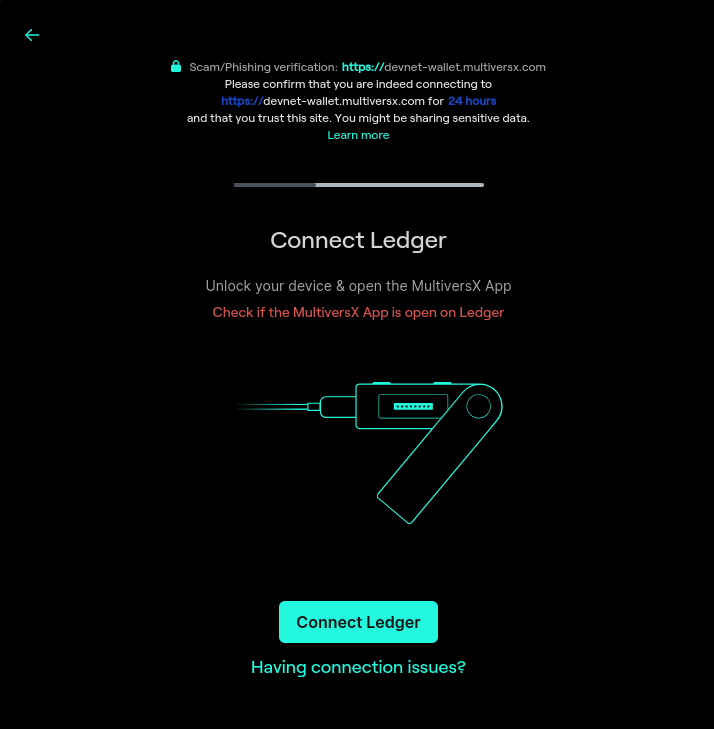
- Navigate to the MultiversX app & open it by pushing both buttons on your device
- In your web browser navigate to https://wallet.multiversx.com
- Select "Ledger" from the Login options
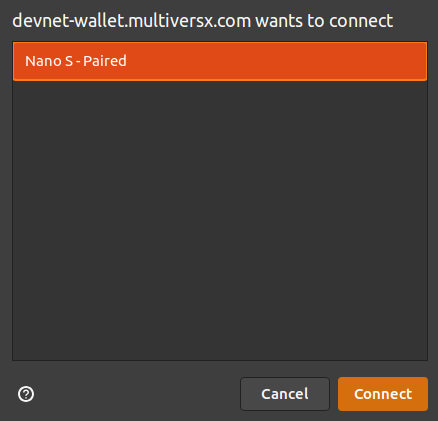
- A pop-up will notify you that your Ledger wants to connect. Allow it by clicking "Connect"
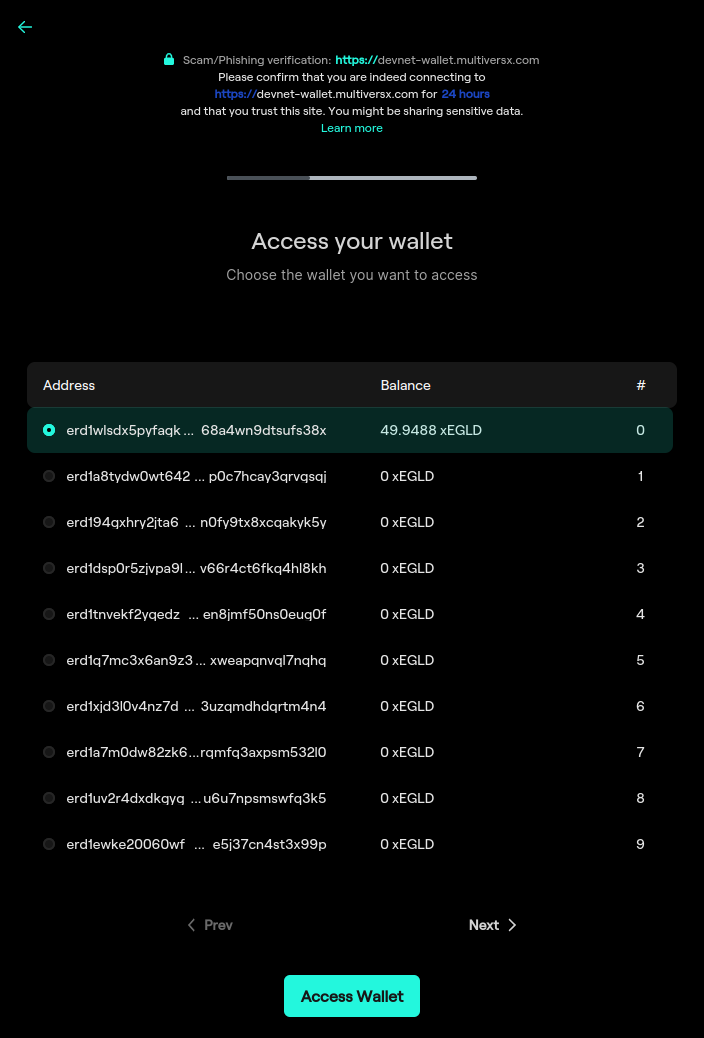
After connecting the Ledger you will be prompted to choose the address you want to connect with. Select the address then click on "Access Wallet".
Your MultiversX Wallet will now open.
Overview of your EGLD balance
After logging into your wallet, your EGLD balances are immediately visible and displayed in easy to follow boxes.

- Available: Freely transferable EGLD balance
- Stake Delegation: Amount of EGLD delegated towards a Staking Services provider
- Legacy Delegation: Amount of EGLD delegated towards MultiversX Community Delegation
- Staked Nodes: Amount of EGLD locked for your staked nodes
Send a transaction using the Ledger
In the MultiversX web wallet:
- Click "Send"
- Input the destination address & amount
- Click Send
- In the next screen click "Confirm on Ledger"!
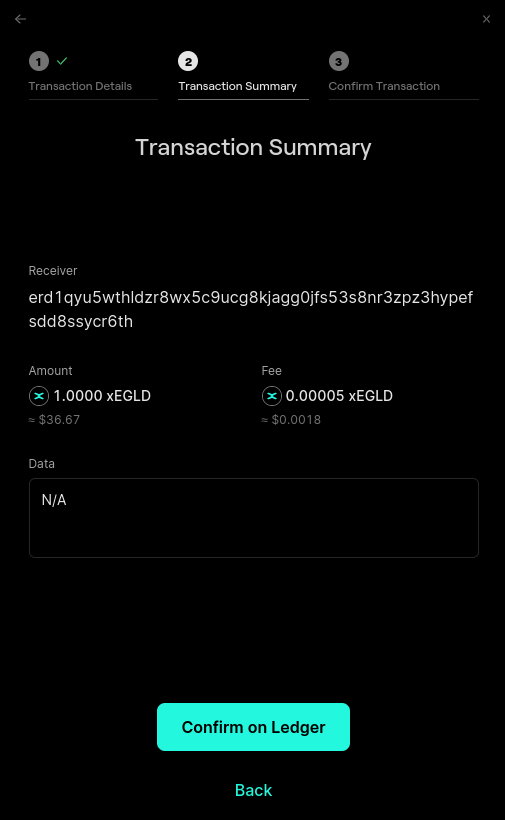
On your Ledger device:
- Review the receiver address, amount & fee on your Ledger device
- Sign the transaction by pressing both buttons
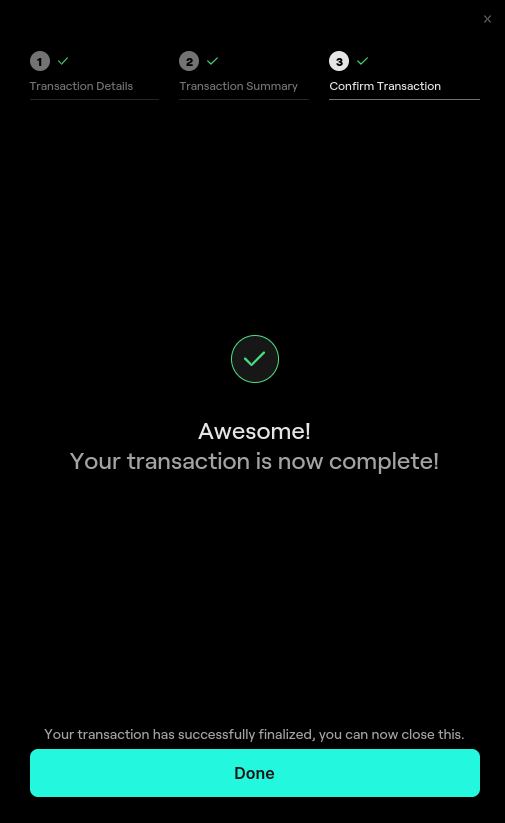
Awesome, your transaction is now sent using your Ledger device.
Receiving EGLD in your wallet
After logging into your wallet, as described above, you will be able to see your wallet address and share it with others, so they can send you EGLD.
Your address is immediately visible on the top part of the wallet, as "erd1... ". You can copy the address by pressing the copy button (two overlapping squares).
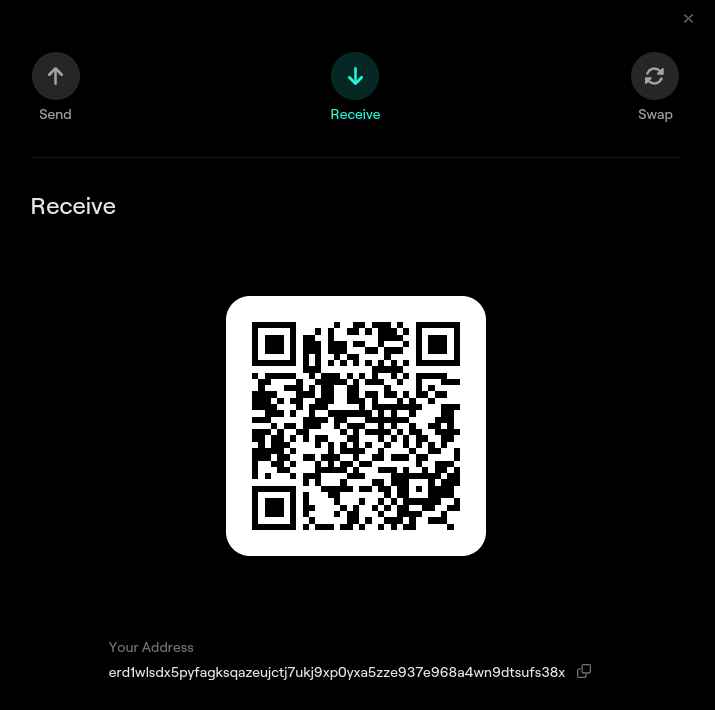
You can also click "Receive" on the right-hand side to see a QR code for the address, which can be scanned to reveal the public address.
Guardians
To set up a guardian for a Ledger account, follow these steps.
Need help?
- Reach out to MultiversX on your preferred channel