Interactors Example
Setup
To gain a practical understanding of how interactors work, let's examine an example using the adder contract. We'll generate an interactor template and demonstrate how to utilize its features effectively. While some steps are optional and depend on developer preference, they are included for comprehensive understanding.
In order to save time, we will also generate the adder contract, using the following command:
sc-meta new --template adder
This command will create a new contract folder, containing a copy of the adder contract.
Steps
Generate interactor code
Quickly generate interactor code by executing sc-meta all snippets in the root of the adder folder:
adder % sc-meta all snippets
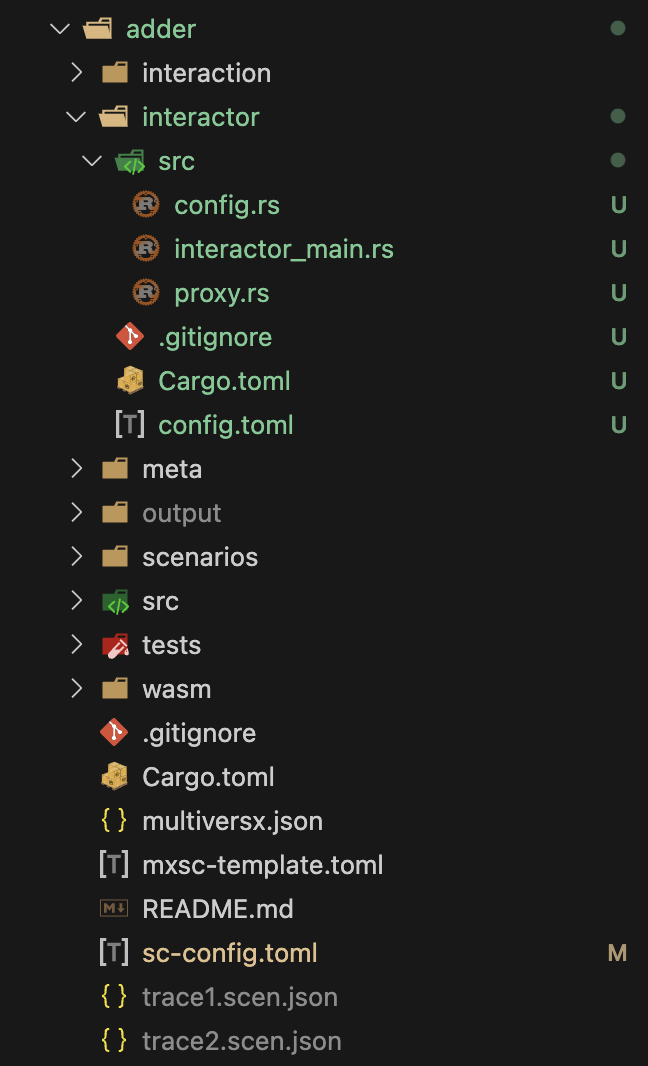
After running sc-meta all snippets in the adder root folder, a new project named interactor is generated along with its own Cargo.toml. For the adder contract, the sc-config.toml file is already created, so the new proxy path is only inserted into the file.
Import the new project
To compile and run the code, import the new project into the existing file hierarchy. Include interactor in adder's Cargo.toml workspaces:
[workspace]
members = [
    ".",
    "meta",
    "interactor"
]
Use the CLI (optional)
At this stage, the interactor is operational, and various CLI commands are available. In the interactor_main.rs file, the main function outlines all available CLI commands.
#[tokio::main]
async fn main() {
    env_logger::init();

    let mut args = std::env::args();
    let _ = args.next();
    let cmd = args.next().expect("at least one argument required");
    let mut interact = ContractInteract::new().await;
    match cmd.as_str() {
        "deploy" => interact.deploy().await,
        "getSum" => interact.sum().await,
        "add" => interact.add().await,
        _ => panic!("unknown command: {}", &cmd),
    }
}
As seen in the picture, three CLI commands are available, each corresponding to an endpoint of the contract (deploy, add, and getSum). To deploy the contract and generate the state.toml file containing the newly deployed address, execute cargo run deploy in the interactor root folder.
interactor % cargo run deploy
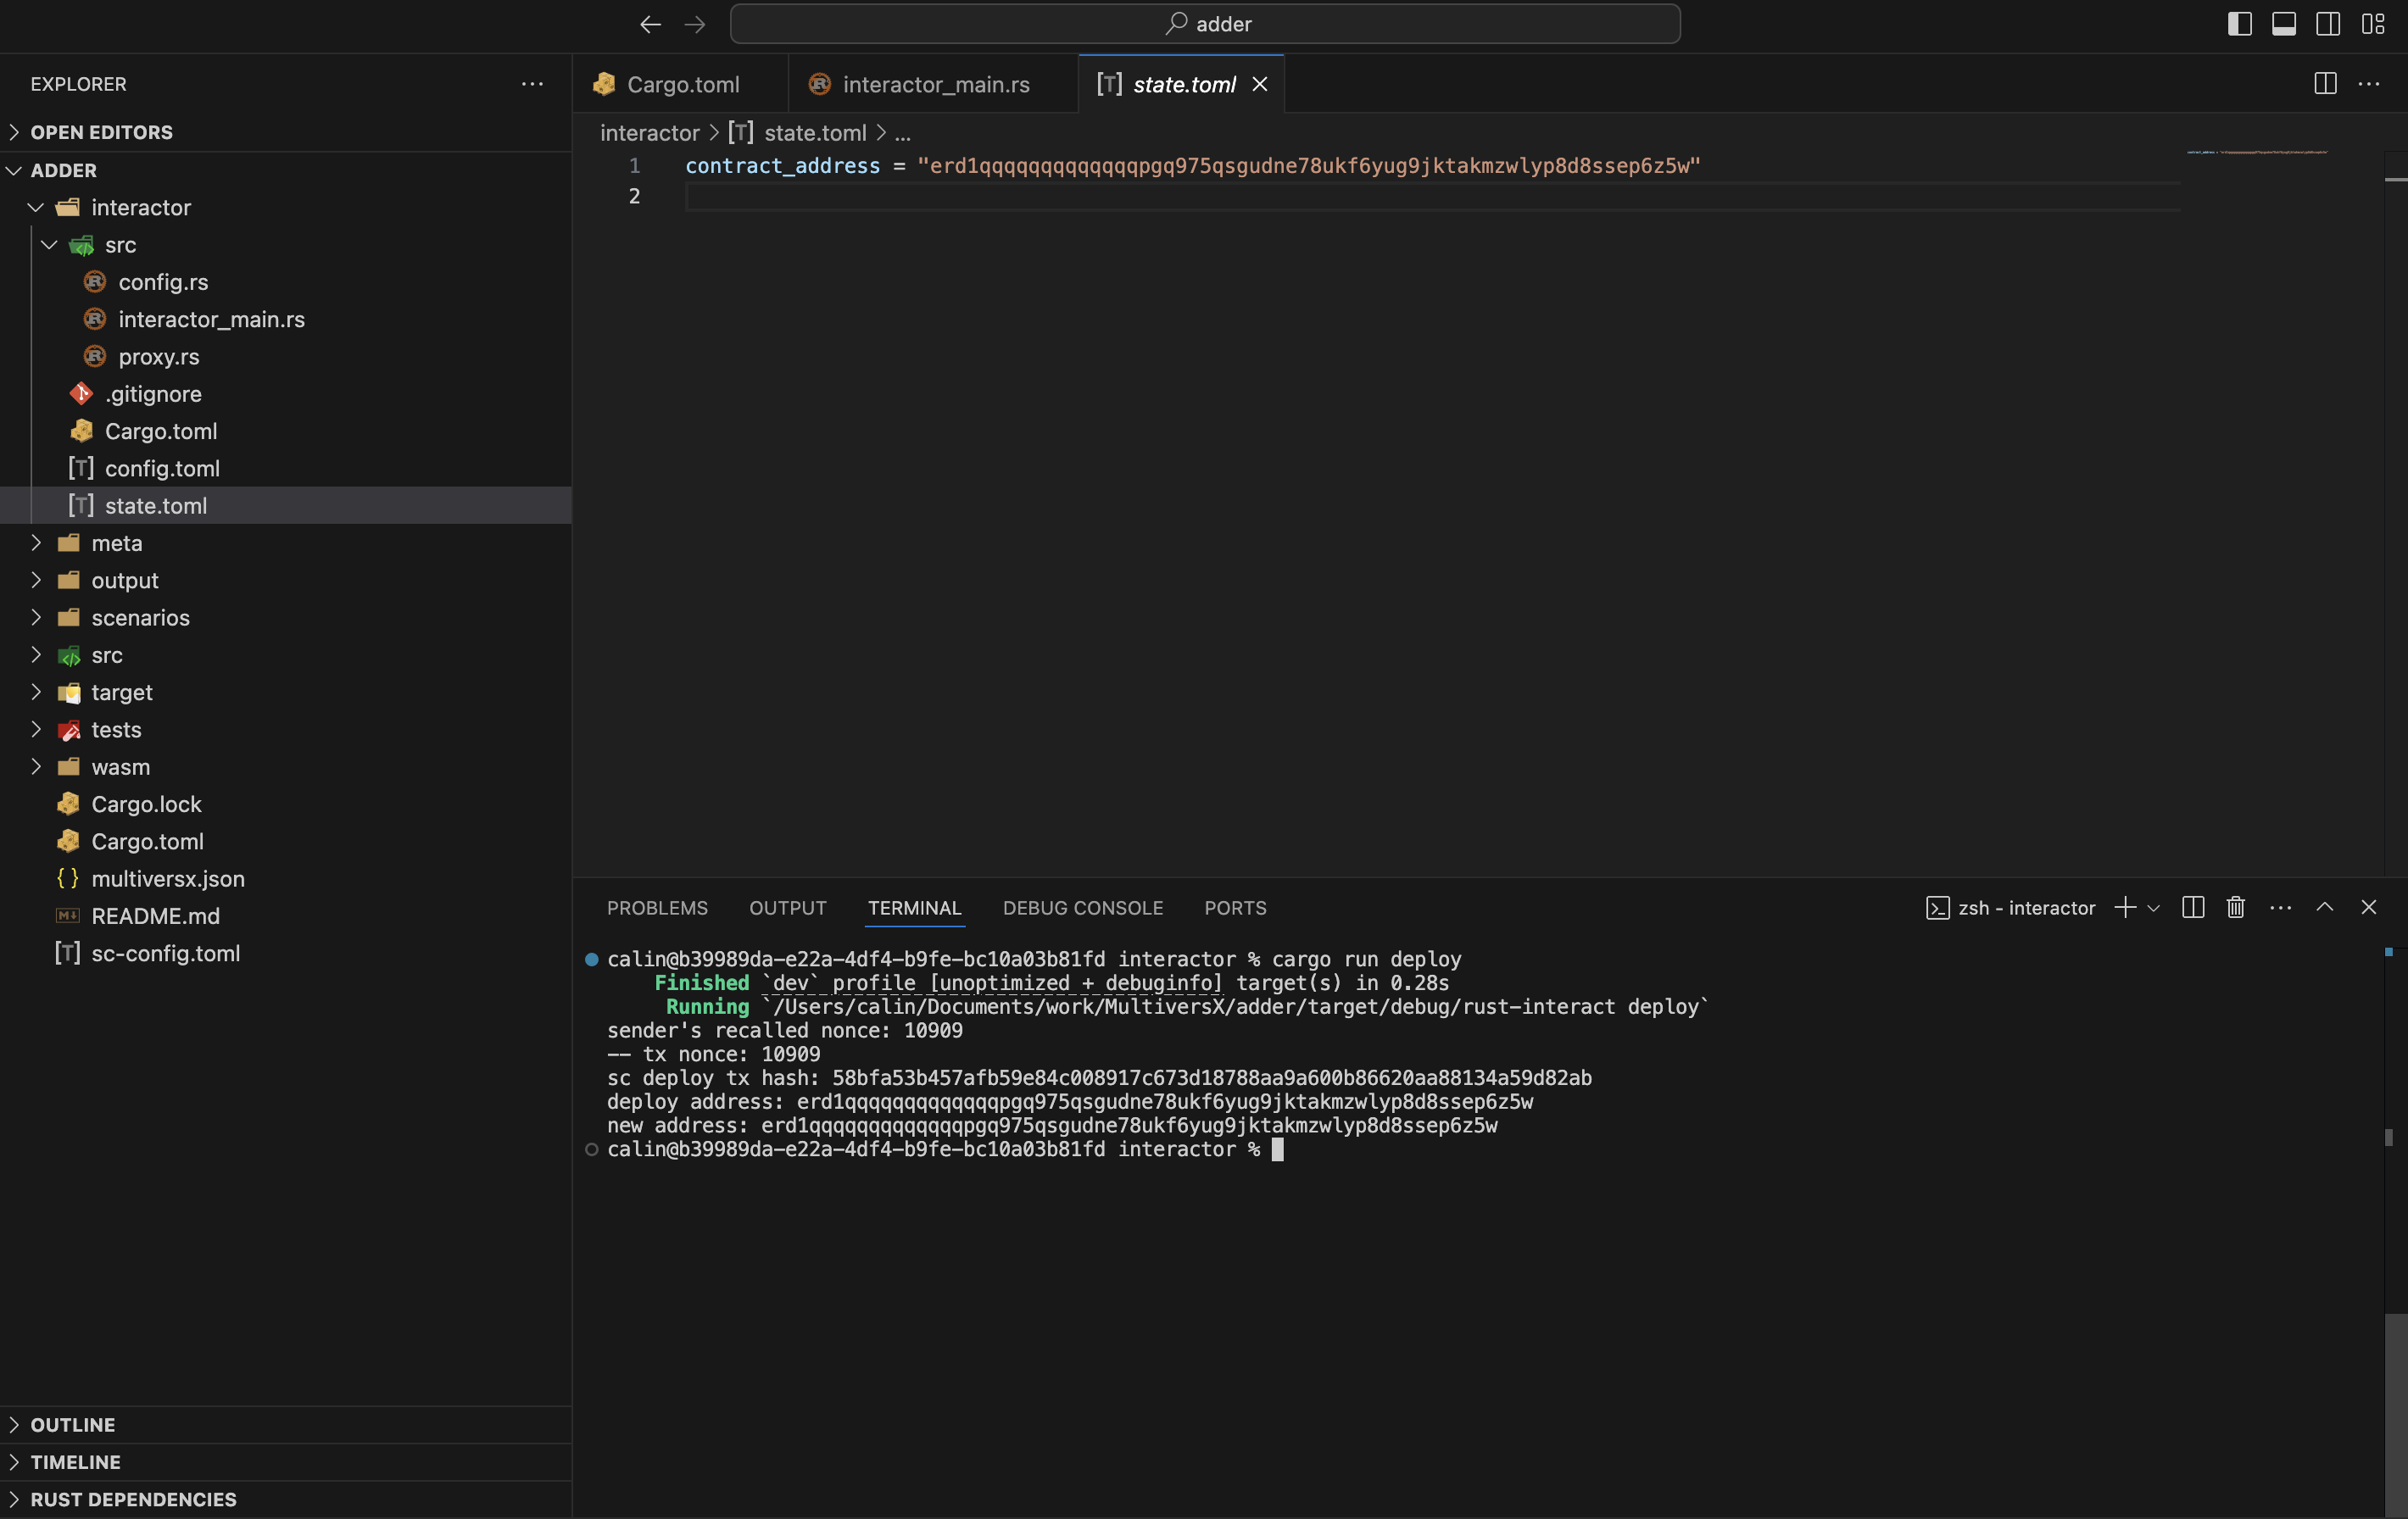
Following this command, the state.toml file becomes visible and contains the newly deployed address from the API.
Attach tracer (optional)
Optionally, let's attach a tracer to the interactor. This records every action and writes it as a mandos step at a specified path.
impl ContractInteract {
        async fn new() -> Self {
        let config = Config::new();
        let mut interactor = Interactor::new(config.gateway_uri())
            .await
            .use_chain_simulator(config.use_chain_simulator())
            .with_tracer("trace1.scen.json") // file path
            .await;
        let wallet_address = interactor.register_wallet(test_wallets::alice()).await;

        let contract_code = BytesValue::interpret_from(
            "mxsc:../output/adder.mxsc.json",
            &InterpreterContext::default(),
        );

        ContractInteract {
            interactor,
            wallet_address,
            contract_code,
            state: State::load_state(),
        }
    }
}
Now, all the interactor actions from a scenario will be transformed into mandos steps and written into a new file called trace1.scen.json.
{
    "steps": [
        {
            "step": "setState",
            "newAddresses": [
                {
                    "creatorAddress": "0x0139472eff6886771a982f3083da5d421f24c29181e63888228dc81ca60d69e1",
                    "creatorNonce": "1427",
                    "newAddress": "bech32:erd1qqqqqqqqqqqqqpgqmauhsqd6zr7kt8pg80qhph2tw0ejed3pd8sszl98x7"
                }
            ]
        },
        {
            "step": "scDeploy",
            "id": "",
            "tx": {
                "from": "0x0139472eff6886771a982f3083da5d421f24c29181e63888228dc81ca60d69e1",
                "contractCode": "mxsc:../output/adder.mxsc.json",
                "arguments": [
                    "0x"
                ],
                "gasLimit": "5,000,000"
            },
            "expect": {
                "out": [],
                "status": "0"
            }
        },
        {
            "step": "scCall",
            "id": "",
            "tx": {
                "from": "0x0139472eff6886771a982f3083da5d421f24c29181e63888228dc81ca60d69e1",
                "to": "bech32:erd1qqqqqqqqqqqqqpgqmauhsqd6zr7kt8pg80qhph2tw0ejed3pd8sszl98x7",
                "function": "add",
                "arguments": [
                    "0x03"
                ],
                "gasLimit": "5,000,000"
            },
            "expect": {
                "out": [],
                "status": "0"
            }
        },
        {
            "step": "scQuery",
            "id": "",
            "tx": {
                "to": "bech32:erd1qqqqqqqqqqqqqpgqmauhsqd6zr7kt8pg80qhph2tw0ejed3pd8sszl98x7",
                "function": "getSum",
                "arguments": []
            },
            "expect": {
                "out": [
                    "0x03"
                ],
                "status": "0"
            }
        }
    ]
}
Create scenarios (optional)
Further, let's create more complex scenarios using the functions provided by the snippets generator or the built-in CLI commands. For instance, let's introduce a new CLI command named full_scenario.
First, we are going to add the CLI command:
#[tokio::main]
async fn main() {
    env_logger::init();

    let mut args = std::env::args();
    let _ = args.next();
    let cmd = args.next().expect("at least one argument required");
    let mut interact = ContractInteract::new().await;
    match cmd.as_str() {
        "deploy" => interact.deploy().await,
        "getSum" => interact.sum().await,
        "add" => interact.add().await,
        "full" => interact.full_scenario().await,
        _ => panic!("unknown command: {}", &cmd),
    }
}
Then, we should add the actual full_scenario function that will run the scenario.
impl ContractInteract {
    // ...

        async fn full_scenario(&mut self) {
        self.deploy().await; // deploys adder contract
        self.add().await; // calls add endpoint with hardcoded value
        self.sum().await; // queries sum view
    }

    // ...
}
This function is a mix of our previous endpoint calls. First, we deploy a new contract, then we call the add endpoint to add value to the storage and, in the end, we query the sum view in order to receive the final sum amount. We have also modified the add function so that it actually sends some value instead of 0 (default).
    async fn add(&mut self) {
        let value = BigUint::<StaticApi>::from(3u128);

        let response = self
            .interactor
            .tx()
            .from(&self.wallet_address)
            .to(self.state.current_address())
            .typed(proxy::AdderProxy)
            .add(value)
            .returns(ReturnsResultUnmanaged)
            .prepare_async()
            .run()
            .await;

        println!("Result: {response:?}");
    }
Executing the above mentioned function will give us this result:
interactor % cargo run full
   Compiling rust-interact v0.0.0 (/Users/calin/Documents/work/MultiversX/adder/interactor)
    Finished `dev` profile [unoptimized + debuginfo] target(s) in 1.69s
     Running `/Users/calin/Documents/work/MultiversX/adder/target/debug/rust-interact full`
sender's recalled nonce: 1427
-- tx nonce: 1427
sc deploy tx hash: bf5122ea02e48d02f1107d494ceb3e75097d8ffd12ed050a0f3074ec5293c573
deploy address: erd1qqqqqqqqqqqqqpgqmauhsqd6zr7kt8pg80qhph2tw0ejed3pd8sszl98x7
new address: erd1qqqqqqqqqqqqqpgqmauhsqd6zr7kt8pg80qhph2tw0ejed3pd8sszl98x7
sender's recalled nonce: 1428
-- tx nonce: 1428
sc call tx hash: 7f5ca4106aa0101e0712d8a582609bcfd6db80b299dae26ac25ae5a77995afbe
Result: ()
Result: 3
Create system tests (optional)
Another effective method for system testing with interactors bypasses the need for CLI usage entirely. By leveraging tokio's test feature, you can write system tests within a tokio runtime environment, functioning like standard Rust tests.

We can also write the test using the previously defined full_scenario method:
#[tokio::test]
async fn test_full_farm_scenario() {
    let mut contract_interactor = ContractInteract::new().await;
    contract_interactor.full_scenario().await;
}
As illustrated, these tests resemble typical Rust tests but apply scenarios directly on the actual blockchain, facilitated by the interactor tx environment. These tests can be executed with cargo test or sc-meta test, seamlessly integrating into your standard testing workflow.